Sewing Machine Feet
When you purchase your first sewing machine you will receive a selection of sewing machine feet that can be quite bewildering to a novice sewer. Each of these feet are designed to make particular sewing tasks easier.
There are also lots of additional feet that can be purchased for your sewing machine and we advise customers to always buy sewing machine feet designed specifically for their machine by the manufacturer.
Your local sewing machine specialists are the perfect place to buy your feet as they will know the correct foot for each make and model of sewing machine.
If buying online always check the compatibility charts to make sure a particular foot is compatible for your machine.
This blog is designed as an overview of the most popular feet but there are many specialised feet that can be purchased as you become a more experienced sewer. Always refer to your sewing machine manual for various stitch instructions on how to set up your machine.
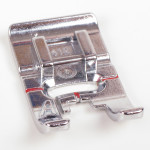
Standard or Zig Zag Foot
This is the foot that you will use most often as a novice sewer as it is capable of both straight and any basic decorative stitches that come as standard on your machine, such as zig zag, satin and overcasting stitches. If you are using tricky fabrics such as chiffon or silk you may run into problems using this foot and also if you are trying certain techniques but generally this will be your go to foot.
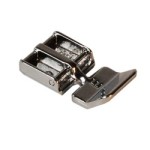
Basic Zipper Foot
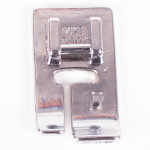
Most sewing machines include a basic zipper foot. They can be attached to your machine on the left or right of the foot by clipping the bar onto the pressure foot clamp depending on which side of the zip you are stitching – you can easily see this bar and where it slots into on to your sewing machine. The gaps on either side of the foot allow you to get close to the teeth of your zip. Depending on your sewing machine you may also be able to adjust the position of the needle to get even more precision stitching. Stitch along one side of the zip then repeat for the other side using the relevant side of the foot.
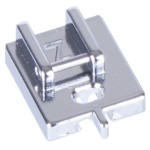
Concealed or Invisible Zipper Foot
It is worth mentioning that you can purchase a concealed or invisible zipper foot which makes inserting this type of zip much easier. The foot has little channels or grooves under the foot where the teeth of the zip sit allowing you to get really close to the teeth. The idea of a concealed zip is that you cannot see the teeth or tape of the zip giving a really professional finish to your project. Do make sure you do not stitch too close to the teeth or you may not be able to close the zip!
One Step Buttonhole Foot
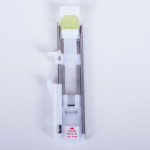
Many basic machines usually include a one step buttonhole foot. This has a slider at the back of the foot where you can place your button. This allows your machine to calculate the correct size of buttonhole to sew in one easy step. Your machine manual will tell you how your particular foot fits onto you machine and which settings to use.
Button Sewing Foot
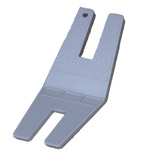
This foot allows you to sew 2 or 4 hole buttons onto your project by setting the stitch width to match the holes in the button. Some machines will include a spacer that you place under the button that creates a thread shank for thicker fabrics such as for coats. This looks like a bent plastic H and can also be used when sewing thick seams. There is also a small hole in the spacer which you can use to replace the needle in your sewing machine – just place your needle in the hole and use it to hold the needle to replace it. This is much less fiddly than trying to hold the needle and you are less likely to drop the needle into your needle plate.
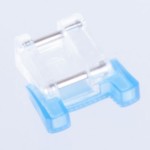
Walking Foot
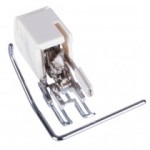
This foot is a great addition to your collection but will not usually come with your machine as standard. Often referred to as a dual feed foot, it is generally used by quilters & patchworkers but is also useful for dressmakers also. This foot allows your machine to feed layers of fabric through your machine evenly.
There is a little bar that usually slots over the needle bar screw. Place your fabric layers under the main foot of the walking foot and it works together with the feed dogs on your machine – (these are the little zig zag metal teeth you can see under the needle plate) to feed all the layers together.
If you use a standard foot when quilting the top fabric layer will often feed at a different rate to the bottom layer and your pieces will not correctly line up. By using a walking foot your pieces should line up at the correct point.
Walking feet are also useful when sewing jersey fabrics stopping your fabric from stretching and going out of shape.
Blind Hem Foot
A blind hem foot safes a lot of time if you do not want to sew your hems by hand.
The right side of the foot is wider than the left and is slighter higher – this is because you fold the fabric a certain way and there will be 3 layers of fabric on the right (2 for the garment and 1 for the seam allowance) and just one on the left of the seam hem allowance.
Once the hem is pressed under, fold it back onto the right side of the garment. Position the foot right up to the right side of the fold of fabric and set you machine to the blind hem stitch (refer to your manual). The stitch should just catch the fabric but you may need to play with the needle position to get it correctly placed. You will see a minimal amount of stitching on the right side of the garment so it is best used on patterned or coarsely woven fabrics.
